

Spooky Skeleton Oreos: A Delightful Treat for Halloween You may also find Glazed Blueberry Brownies useful.
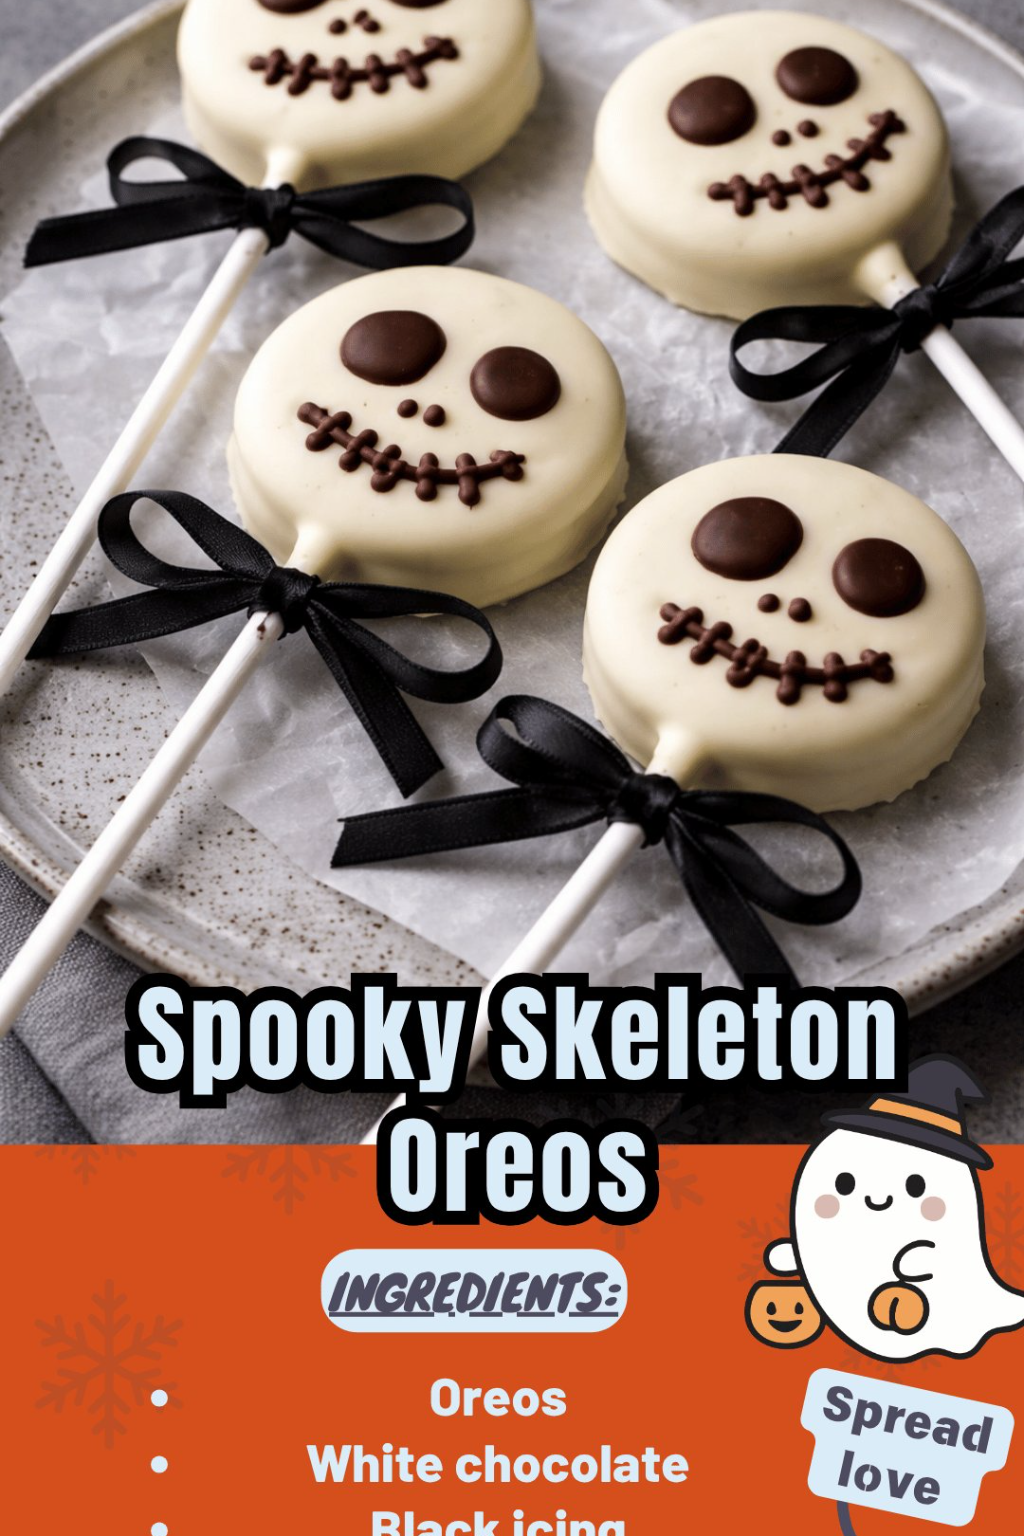
As Halloween approaches, the air is filled with enchanting whispers of sweet delights and whimsical gatherings. Imagine a cozy evening, where laughter fills the room, and the scent of chocolate wafts through the air—this is the perfect moment to whip up a batch of Spooky Skeleton Oreos. These Halloween-inspired treats are not just visually enchanting; they’re a delightful indulgence that brings joy to both kids and adults alike. You’ll find that the combination of Oreos and creamy embellishments makes this recipe a crowd-pleaser and an easy conversation starter. You may also find Drunken Noodles useful.
Why You’ll Love This Recipe
- Quick and Easy: This recipe is simple, allowing you to create something special without spending hours in the kitchen.
- Fun for the Family: Engaging the kids to help decorate makes for memorable family moments.
- Versatile Decorations: You can customize them with different designs, such as ghosts or bats, to suit your Halloween theme.
- Irresistible Flavor: The rich Oreo flavor combined with sweet toppings makes these skeletons a must-try treat.
- Perfect for Any Occasion: Whether you’re throwing a Halloween party or just indulging on a cozy night in, these cookies fit the bill.
Ingredients
To create your Spooky Skeleton Oreos, you’ll need the following ingredients:
- Oreos – the base of your spooky creation; you can also use double-stuffed Oreos for a creamier texture.
- White chocolate or candy melts – for draping those skeletons in a sweet, spooky coat.
- Black icing or edible markers – to bring your skeleton designs to life.
- Sprinkles (optional) – for an extra touch of festivity and color.
You can easily substitute the white chocolate with dark chocolate for a richer taste or use dairy-free chocolate for a healthier option.
Timing
- Prep Time: 15 minutes
- Chill Time: 30 minutes
- Total Time: 45 minutes
These Spooky Skeleton Oreos are ready faster than you can say “trick or treat,” making them an excellent choice for last-minute Halloween preparations.
Step-by-Step Instructions
- Start by melting the white chocolate or candy melts in a microwave-safe bowl. Heat in short intervals to avoid burning.
- Once melted, dip each Oreo into the chocolate, ensuring it’s fully coated. Place the dipped Oreos on a parchment-lined baking sheet.
- Before the chocolate hardens, use black icing to create skeleton features—eyes, bone outlines, or playful designs—making each cookie a unique masterpiece.
- Allow the decorated Oreos to chill in the refrigerator for about 30 minutes until the chocolate is fully set.
- Finally, remove them from the fridge and serve on a spooky platter, or pack them for festive gatherings.
As an added treat, consider pairing these sweet creations with a warm batch of garlic bread rolls to complement the festive atmosphere.
Tips and Variations
- Experiment with different colors of chocolate. Using orange for coating brings an extra pop of Halloween spirit.
- Try using cookie cutters to create shapes instead of just decorating full Oreos. This adds an exciting twist to the traditional treat.
- For a healthier alternative, consider using dark chocolate; it pairs wonderfully with the sweetness of the Oreos and adds depth.
Serving Suggestions
These spooky treats are best enjoyed with a glass of pumpkin spice latte or hot chocolate, creating a cozy and festive experience. They make a perfect addition to Halloween parties, school events, or even a movie night with friends. Imagine sharing these delightful cookies while watching your favorite spooky films!
Storage and Make-Ahead Tips
If you have leftovers (though they’re unlikely!), store your Spooky Skeleton Oreos in an airtight container at room temperature for up to a week. For longer storage, you can freeze them in a single layer, then transfer to a container. Just remember to let them thaw before indulging!
Pro Tips from the Kitchen
- If you’re short on time, consider using ready-made icing for your decoration.
- For a fun twist, you can also dip pretzel sticks in chocolate and use them as “bones” alongside the cookies.
- Always let the chocolate cool slightly before dipping to prevent the cookies from getting soggy.
FAQs
Can I use different flavors of Oreos?
Absolutely! Any flavor of Oreo can work, adding exciting surprises to each bite.
Do I need special tools for decorating?
Not at all! A simple zip-top bag with a corner snipped off can act as a piping bag for your icing.
How can I make these gluten-free?
Look for gluten-free Oreos, which are widely available, to make this treat accessible to gluten-sensitive guests.
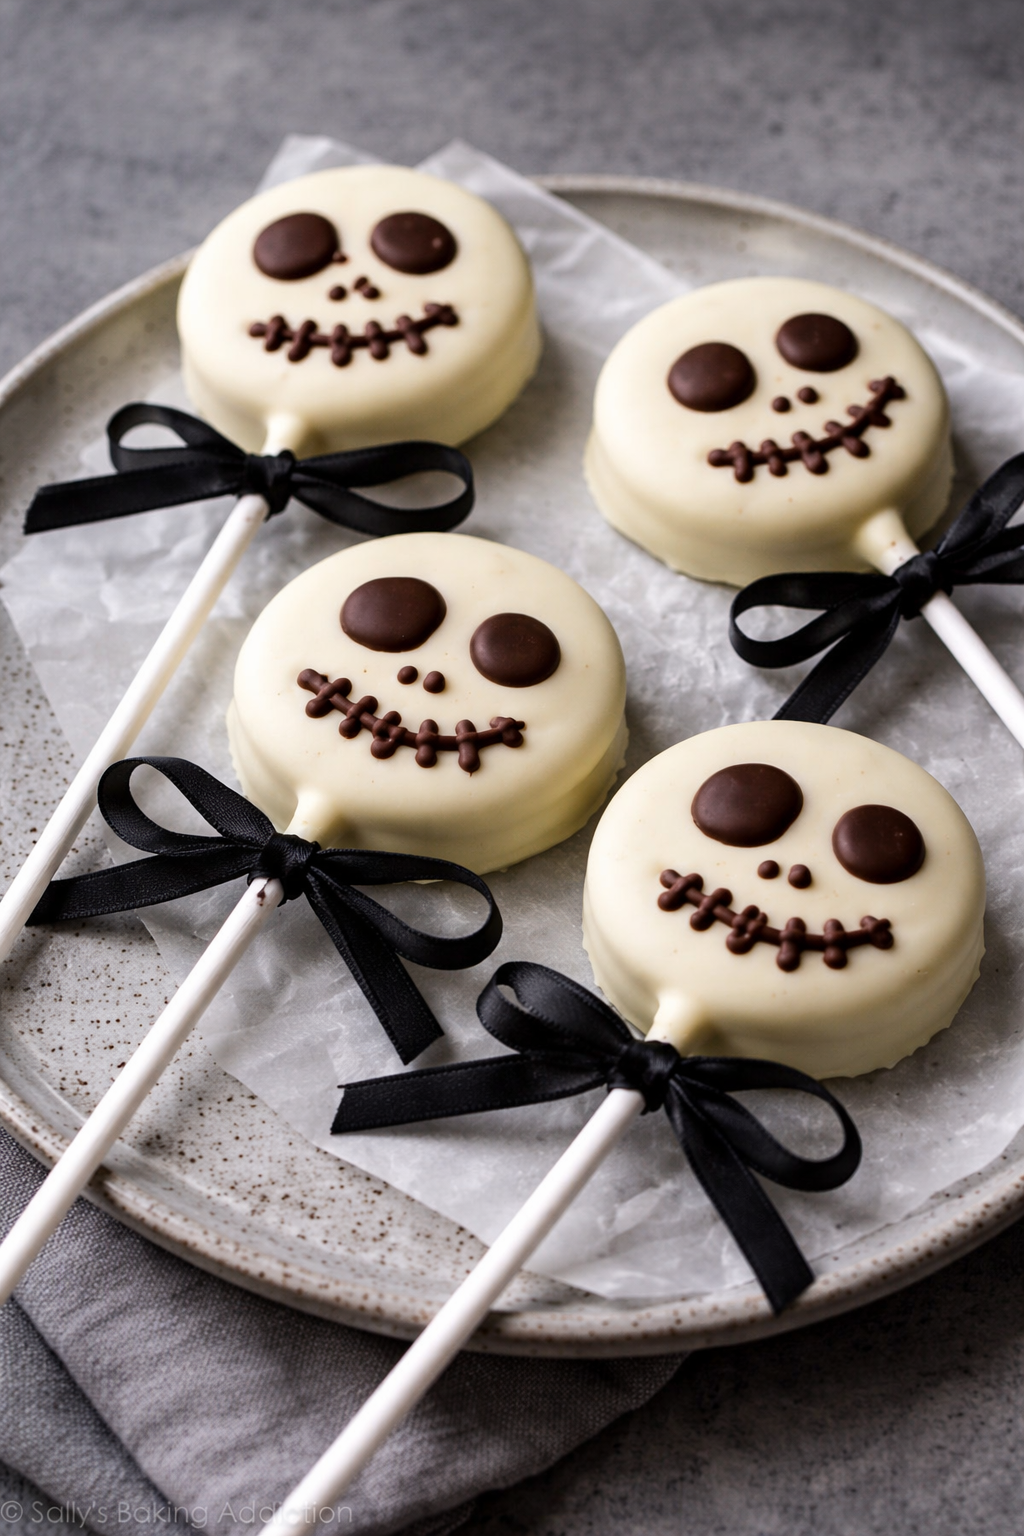
Spooky Skeleton Oreos are more than just a treat; they encapsulate the magic of shared moments, laughter, and creativity. Whether enjoyed at a gathering or shared with family, they will surely be a delightful addition to your Halloween festivities. Embrace the season by making these charming cookies part of your holiday traditions!
Print
Spooky Skeleton Oreos
- Total Time: 45 minutes
- Yield: 24 servings
- Diet: Vegetarian
Description
Delightful Halloween-inspired treats that are fun for family and perfect for any occasion.
Ingredients
- Oreos
- White chocolate or candy melts
- Black icing or edible markers
- Sprinkles (optional)
Instructions
- Start by melting the white chocolate or candy melts in a microwave-safe bowl. Heat in short intervals to avoid burning.
- Once melted, dip each Oreo into the chocolate, ensuring it’s fully coated. Place the dipped Oreos on a parchment-lined baking sheet.
- Before the chocolate hardens, use black icing to create skeleton features—eyes, bone outlines, or playful designs.
- Allow the decorated Oreos to chill in the refrigerator for about 30 minutes until the chocolate is fully set.
- Finally, remove them from the fridge and serve on a spooky platter, or pack them for festive gatherings.
Notes
Experiment with different colors of chocolate for a fun twist, or use cookie cutters for exciting shapes.
- Prep Time: 15 minutes
- Cook Time: 30 minutes
- Category: Dessert
- Method: Chilling
- Cuisine: American
Nutrition
- Serving Size: 1 cookie
- Calories: 150
- Sugar: 10g
- Sodium: 50mg
- Fat: 7g
- Saturated Fat: 4g
- Unsaturated Fat: 2g
- Trans Fat: 0g
- Carbohydrates: 20g
- Fiber: 1g
- Protein: 1g
- Cholesterol: 0mg
Keywords: Halloween, Oreos, dessert, spooky treats, family fun