
Introduction You may also find Easy Tandoori Chicken Garlic Bread useful.
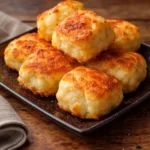
There’s something magical about the aroma of freshly baked bread wafting through the kitchen, especially when it’s accompanied by the rich, buttery scent of garlic. Garlic Bread Rolls are not just a side dish; they are an experience, a warm invitation to gather around the dinner table with loved ones. Imagine a cozy family dinner where everyone pulls apart their fluffy, golden rolls, slathered in garlic butter, as laughter fills the air. This comforting recipe is perfect for family meals, a quick dinner idea, or even a festive gathering, making it an essential addition to your cooking repertoire. You may also find Air Fryer Honey Garlic Steak Sweet Pepper Bites useful.
Why You’ll Love This Recipe
You might be wondering what makes Garlic Bread Rolls a must-try. Here are a few heartwarming reasons:
- Comfort Food: These rolls are the epitome of cozy, comforting food that instantly brings back childhood memories.
- Flavorful Indulgence: With the decadent flavor of garlic and buttery goodness, they elevate any meal.
- Family-Friendly: Everyone, from kids to adults, loves these delightful rolls, making them a family favorite.
- Versatile Pairings: They can accompany a variety of dishes, from pasta to soups, or even stand alone as a snack.
- Quick and Easy: This recipe is simple enough for weeknight dinners, yet impressive enough for gatherings.
Ingredients
To make a batch of these irresistible Garlic Bread Rolls, you’ll need the following:
- All-purpose flour – Forms the base of our rolls, giving them structure.
- Yeast – Essential for that fluffy, airy texture.
- Warm water – Activates the yeast and helps develop the dough.
- Sugar – A touch of sweetness balances the savory flavors.
- Salt – Enhances the overall taste of the rolls.
- Butter – Adds richness and flavor.
- Garlic – The star ingredient that infuses each roll with aromatic goodness.
- Parsley – A fresh touch to finish off the rolls.
- Olive oil – Can be used instead of butter for a healthier option.
This recipe also allows for substitutions! You can use whole wheat flour for a healthier alternative, and nutritional yeast can be used to add a cheesy flavor without the dairy.
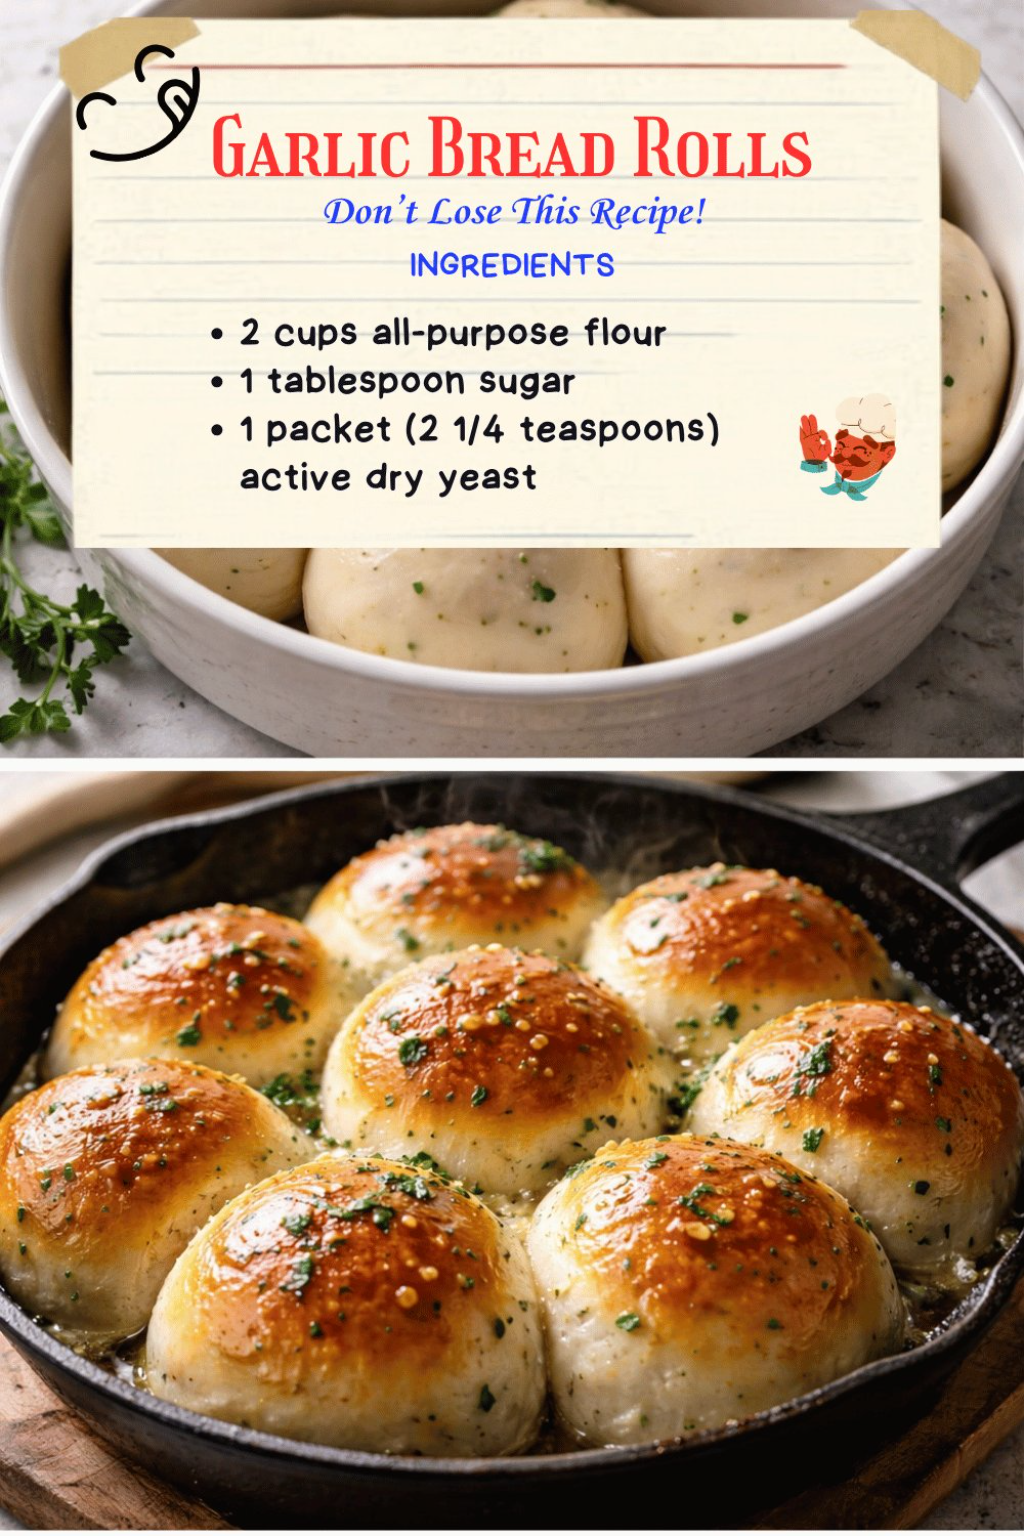
Timing
Preparing these Garlic Bread Rolls is quicker than you might think! Here’s a simple timeline to keep in mind:
- Prep Time: 10 minutes
- Rest Time: 1 hour
- Cook Time: 15-20 minutes
- Total Time: About 1 hour and 30 minutes
You’ll find that these rolls are ready to enjoy faster than takeout, making them a perfect weeknight meal companion!
Step-by-Step Instructions
-
Activate the Yeast: In a bowl, combine warm water and sugar. Add the yeast and let it sit until frothy, about 5-10 minutes.
-
Mix the Dough: In a mixing bowl, combine the flour and salt. Create a well in the center and pour in the yeast mixture and melted butter. Stir until a dough forms.
-
Knead: On a floured surface, knead the dough for about 8-10 minutes until it’s smooth and elastic.
-
First Rise: Place the dough in a greased bowl, cover it with a towel, and let it rise in a warm place for about an hour, or until doubled in size. You’ll know it’s time when your kitchen starts smelling divine!
-
Shape the Rolls: Punch down the risen dough and divide it into equal portions. Shape each piece into a ball and place them in a greased baking dish.
-
Second Rise: Cover the rolls again and let them rise for another 30 minutes.
-
Prepare the Garlic Butter: While the rolls are rising, melt some butter and mix it with minced garlic and chopped parsley.
-
Bake: Preheat your oven to 375°F (190°C). Brush the rolls with the garlic butter mixture and bake for 15-20 minutes or until golden brown.
-
Serve Warm: Brush the rolls again with more garlic butter before serving. Your kitchen will be filled with an irresistible aroma at this point!
Tips and Variations
Feel free to get creative with your Garlic Bread Rolls! Here are some fun ideas to personalize them:
- Cheesy Garlic Rolls: Add shredded cheese inside each roll before baking for a gooey surprise.
- Herb Infusion: Mix in other herbs like oregano or thyme for a fragrant twist.
- Festive Touch: Add a pinch of red pepper flakes for a spicy kick, perfect for holiday gatherings.
If you’re interested in making a complete meal, consider pairing these rolls with a hearty dish like spaghetti in garlic bread bowls for a delightful dinner.
Serving Suggestions
Garlic Bread Rolls are incredibly versatile and can complement a variety of meals. Imagine them served alongside a fresh garden salad, a comforting bowl of tomato soup, or even as a side to a juicy roasted chicken. Pair them with a glass of red wine for a cozy evening, or savor them straight from the oven as a snack. The possibilities are endless!
Storage and Make-Ahead Tips
If you have leftovers (although it’s hard to believe!), you can store them in an airtight container at room temperature for up to two days. For longer storage, freeze the rolls in a zip-top bag for up to three months. When you’re ready to enjoy, simply thaw and reheat them in the oven to bring back that fresh-baked goodness.
Pro Tips from the Kitchen
- Flour Measurement: Always measure your flour accurately. Too much flour can lead to dense rolls.
- Warm Environment: If your kitchen is cool, place the dough in an oven preheated to 200°F (then turned off) to help it rise.
- Experiment with Garlic: Roasted garlic can provide a milder, sweeter flavor if you want to mix things up.
FAQs
Can I make the dough ahead of time?
Absolutely! You can prepare the dough the night before, let it rise, then refrigerate. Allow it to come to room temperature before baking.
What if my rolls don’t rise?
Ensure your yeast is active. If it doesn’t foam when mixed with water and sugar, it may be expired.
Can I add other flavors?
Yes! Feel free to add grated cheese or spices like Italian seasoning to customize your rolls.
Conclusion
Garlic Bread Rolls are more than just a recipe; they are a celebration of flavors and family togetherness. These delightful rolls will undoubtedly become a cherished part of your home-cooked meals, filling your kitchen with warmth and joy. So why not gather your loved ones and whip up a batch today? You might just create a new family tradition around the dinner table!
Print
Garlic Bread Rolls
- Total Time: 90 minutes
- Yield: 12 servings 1x
- Diet: Vegetarian
Description
Delicious and fluffy garlic bread rolls, perfect for family gatherings or as a comforting side dish.
Ingredients
- 3 1/2 cups all-purpose flour
- 2 1/4 tsp yeast
- 1 cup warm water
- 1 tbsp sugar
- 1 tsp salt
- 1/4 cup butter, melted
- 4 cloves garlic, minced
- 2 tbsp fresh parsley, chopped
- 2 tbsp olive oil (optional)
Instructions
- Activate the yeast: In a bowl, combine warm water and sugar. Add the yeast and let it sit until frothy, about 5-10 minutes.
- Mix the dough: In a mixing bowl, combine the flour and salt. Create a well in the center and pour in the yeast mixture and melted butter. Stir until a dough forms.
- Knead: On a floured surface, knead the dough for about 8-10 minutes until it’s smooth and elastic.
- First rise: Place the dough in a greased bowl, cover it with a towel, and let it rise in a warm place for about an hour, or until doubled in size.
- Shape the rolls: Punch down the risen dough and divide it into equal portions. Shape each piece into a ball and place them in a greased baking dish.
- Second rise: Cover the rolls again and let them rise for another 30 minutes.
- Prepare the garlic butter: While the rolls are rising, melt some butter and mix it with minced garlic and chopped parsley.
- Bake: Preheat your oven to 375°F (190°C). Brush the rolls with the garlic butter mixture and bake for 15-20 minutes or until golden brown.
- Serve warm: Brush the rolls again with more garlic butter before serving.
Notes
For a cheesy variation, add shredded cheese inside each roll before baking. Store leftovers in an airtight container for up to two days.
- Prep Time: 10 minutes
- Cook Time: 20 minutes
- Category: Side Dish
- Method: Baking
- Cuisine: American
Nutrition
- Serving Size: 1 roll
- Calories: 150
- Sugar: 1g
- Sodium: 150mg
- Fat: 6g
- Saturated Fat: 3g
- Unsaturated Fat: 2g
- Trans Fat: 0g
- Carbohydrates: 20g
- Fiber: 1g
- Protein: 3g
- Cholesterol: 10mg
Keywords: garlic bread, rolls, side dish, baking, comfort food